Set Up Your First Site
Create locations in Zeltask to represent the physical spaces where your team works. Locations help organize assets, assign work orders, and track activities by area.
Before You Start
- You need Admin or Manager permissions to create locations
- Have your site structure in mind (buildings, areas, zones)
Steps
Step 1: Open the Locations module
- Click Locations in the left sidebar
- The location list loads, showing any existing locations as cards
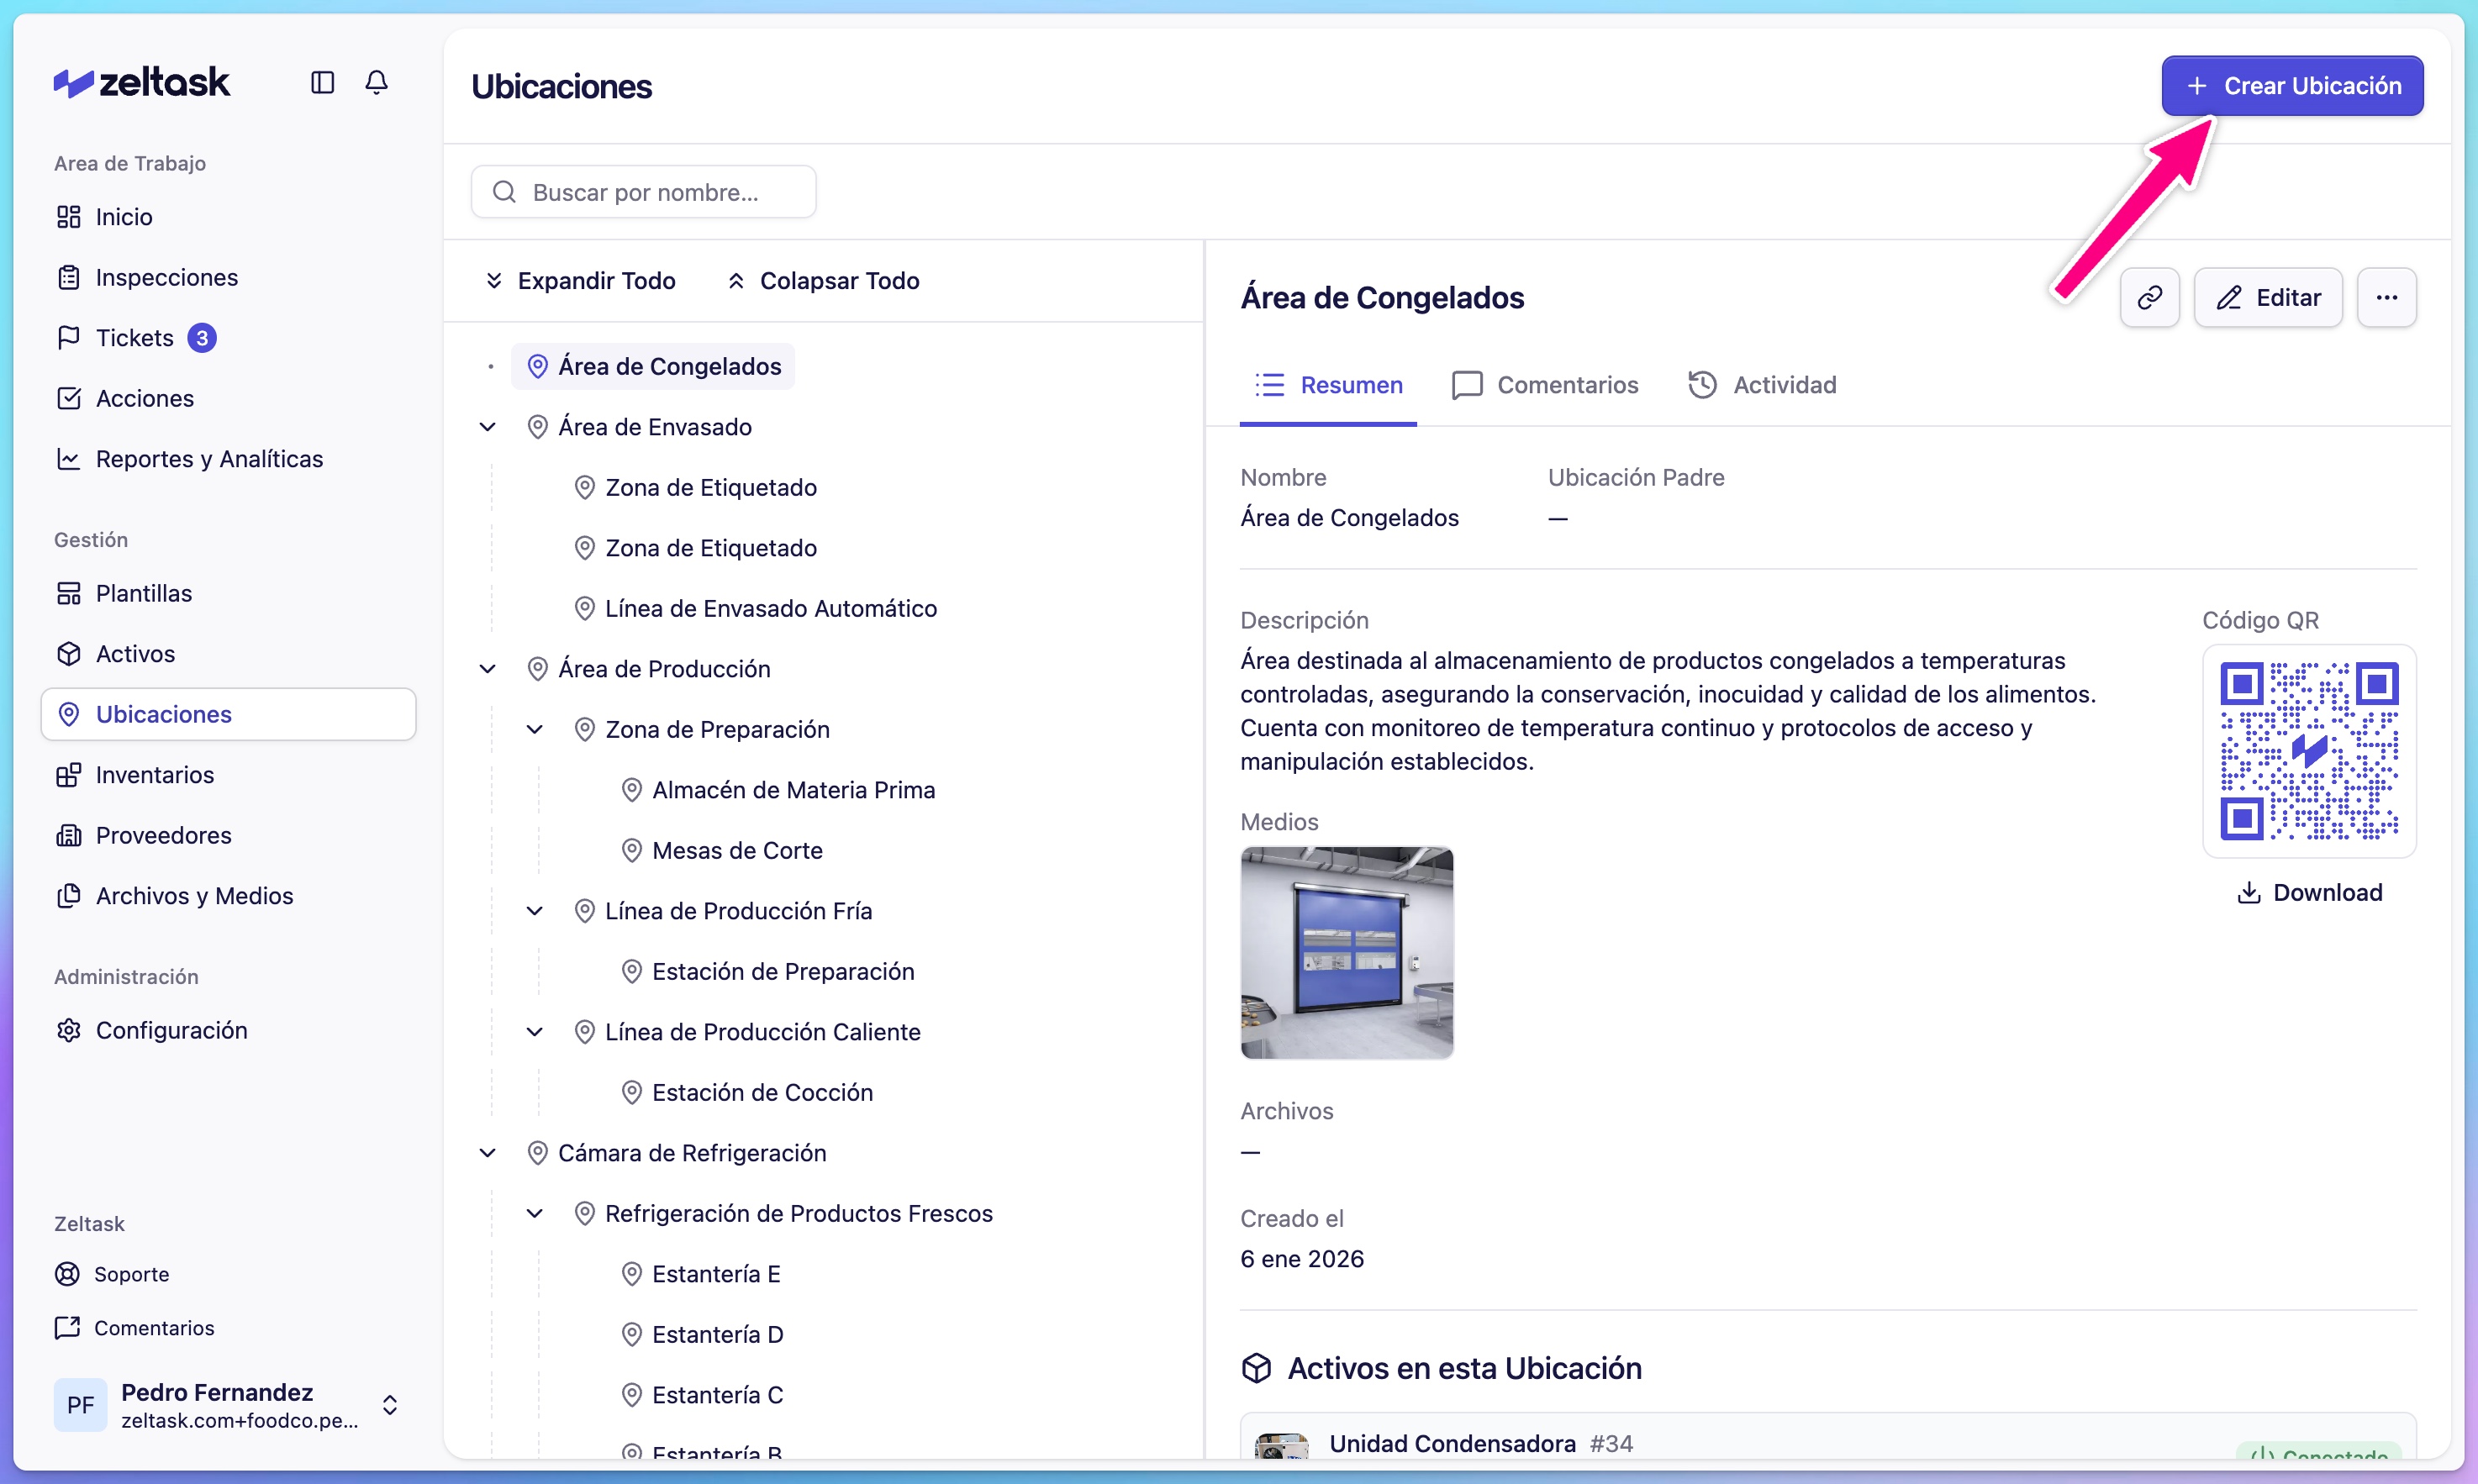
Step 2: Create your first location
- Click Create Location in the top-right corner
- The location creation form opens
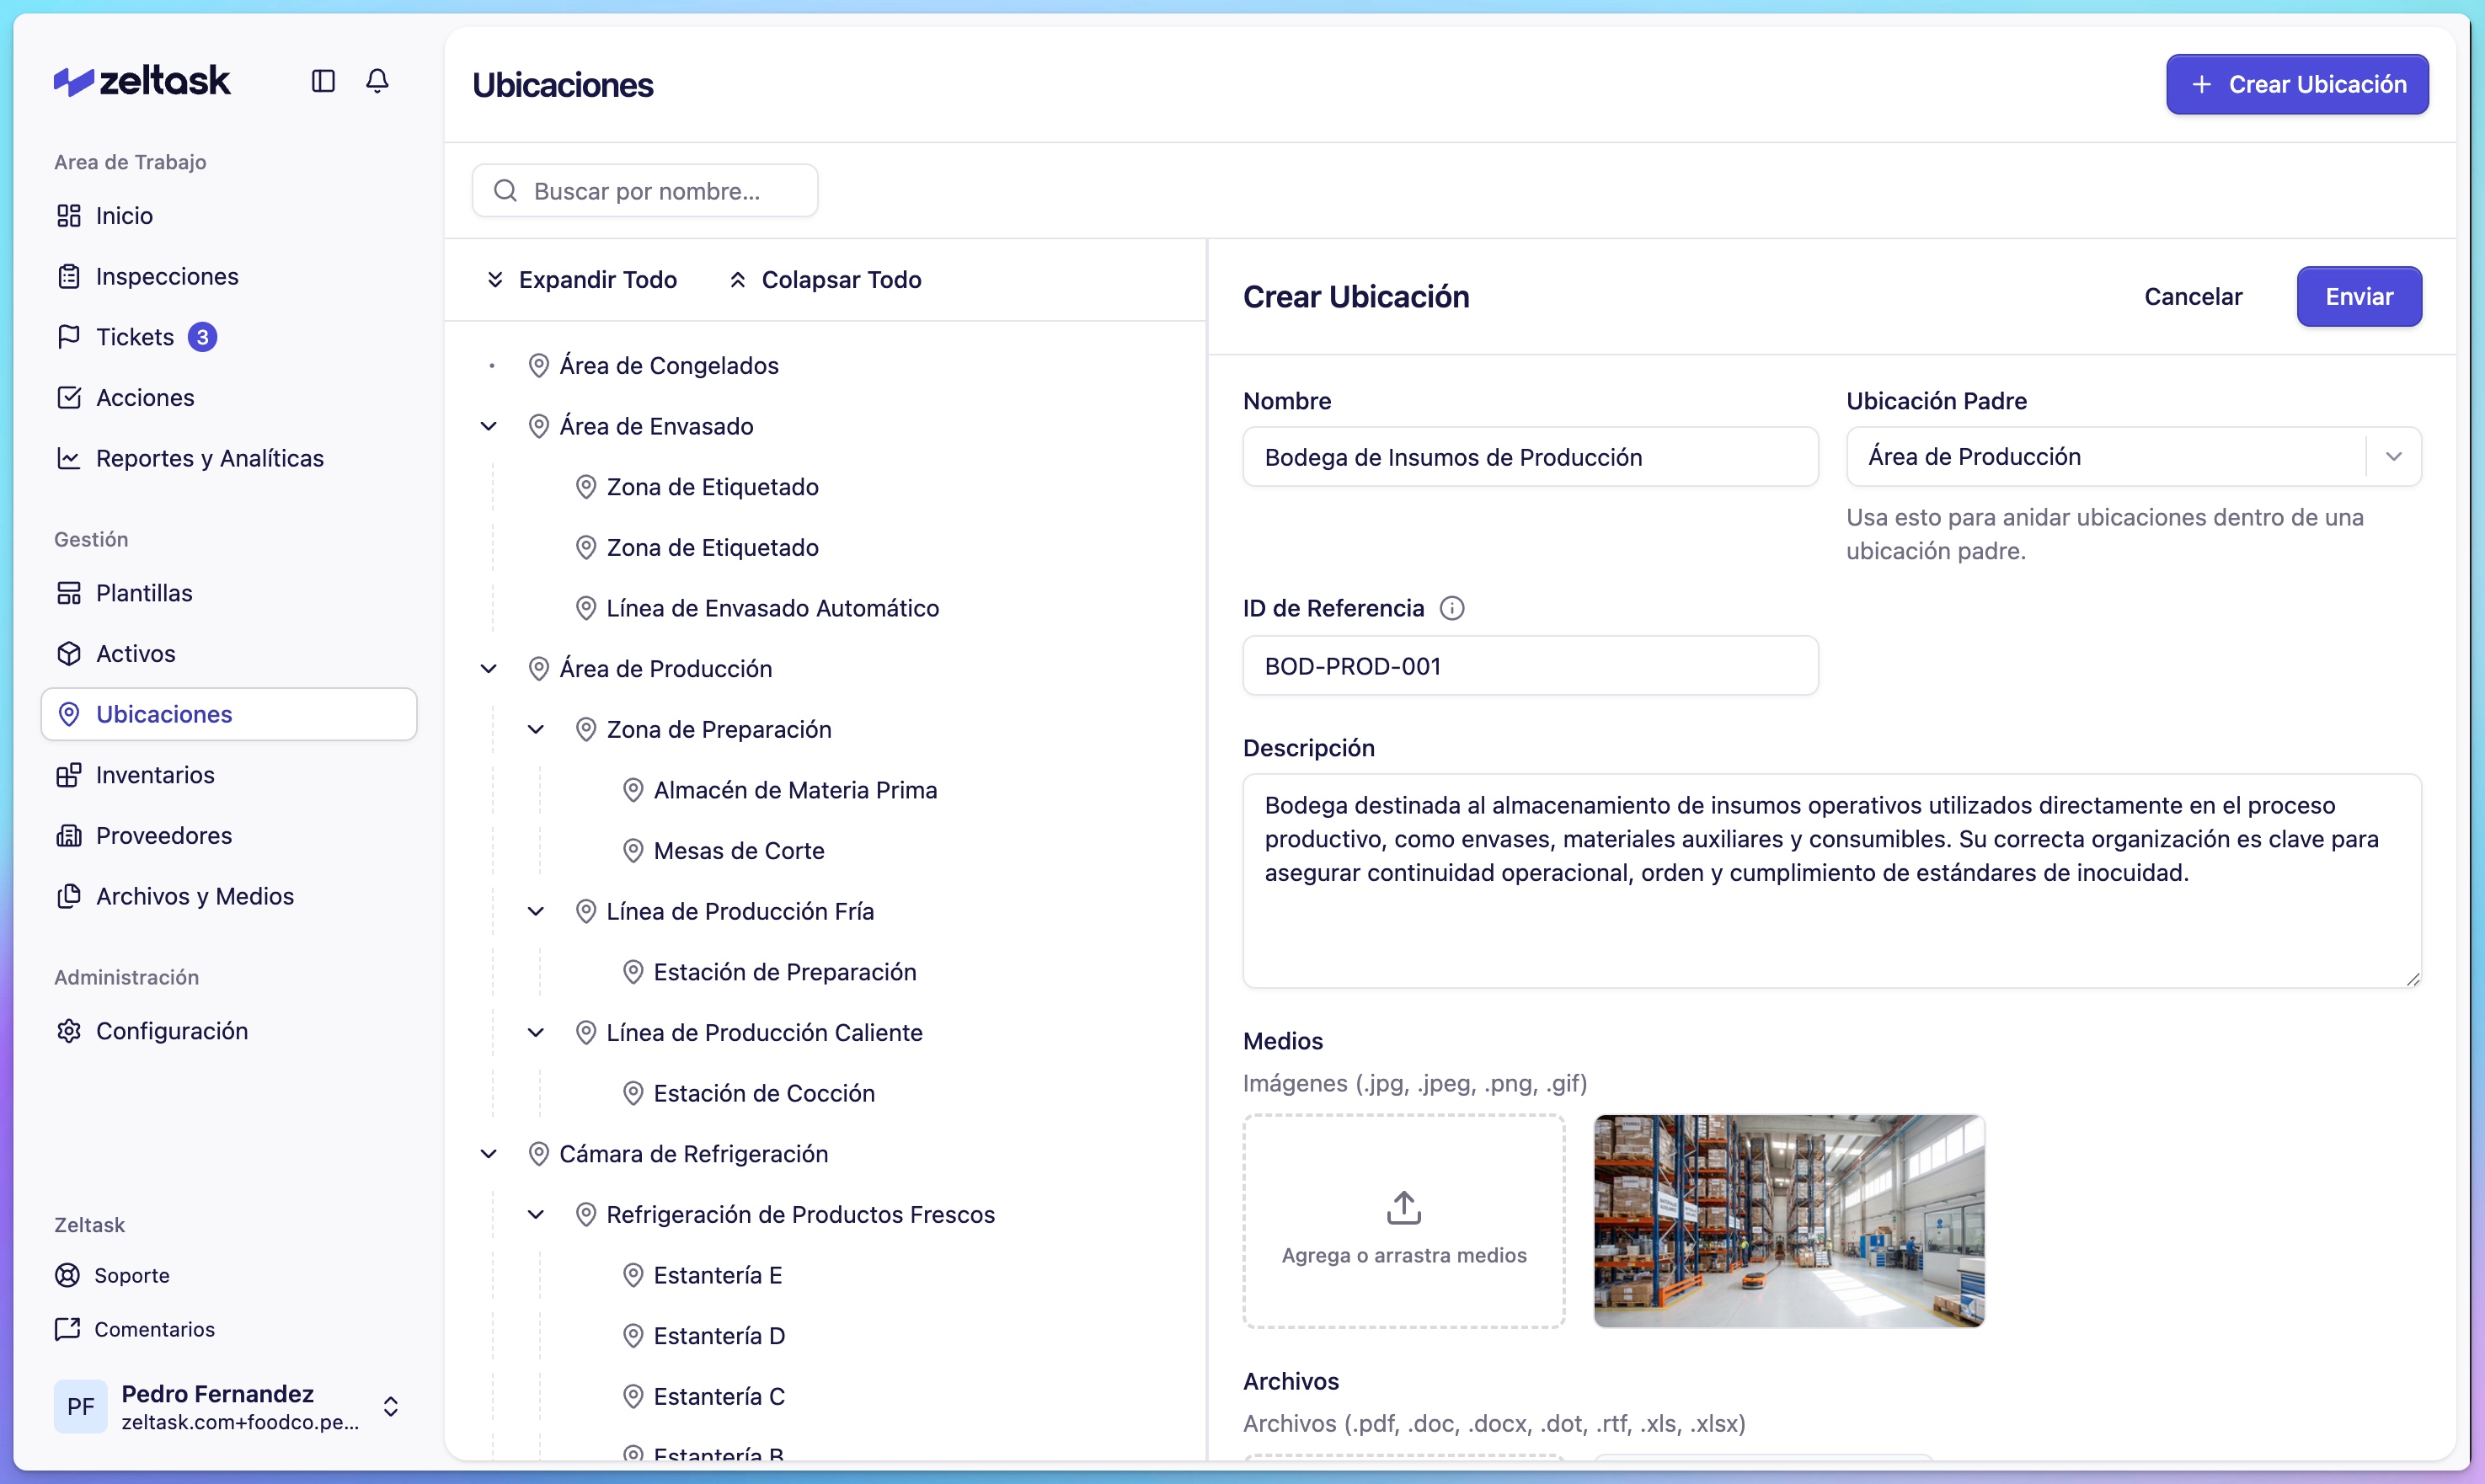
Step 3: Enter location details
Complete the following fields:
| Field | Description | Example |
|---|---|---|
| Name | The name of the physical space | "Production Floor A" |
| Description | Additional details about the location | "Main production area, Building 1" |
| Media | Photos or videos to help identify the space | Photo of the area entrance |
| Files | Documents such as floor plans or safety info | PDF of the layout |
Step 4: Save the location
- Review the information
- Click Save
The location is now available throughout Zeltask.
Building a Location Hierarchy
For larger facilities, create a logical structure:
Example hierarchy:
Main Plant
├── Building A
│   ├── Production Floor
│   ├── Packaging Area
│   └── Storage Room
├── Building B
│   ├── Quality Lab
│   └── Shipping Dock
└── Utilities
    ├── Boiler Room
    └── Electrical Room
Create each area as a separate location. This allows you to:
- Filter reports by specific zones
- Assign assets to precise locations
- Track work order distribution across areas
Using QR Codes for Locations
Each location automatically gets a QR code. When scanned from the field, the QR code opens a menu with quick actions:
- Create a Ticket — Report an issue at this location
- Create an Action — Start a work order linked to this location
- View Assets — See all equipment registered at this location
- View Details — Open the full location information
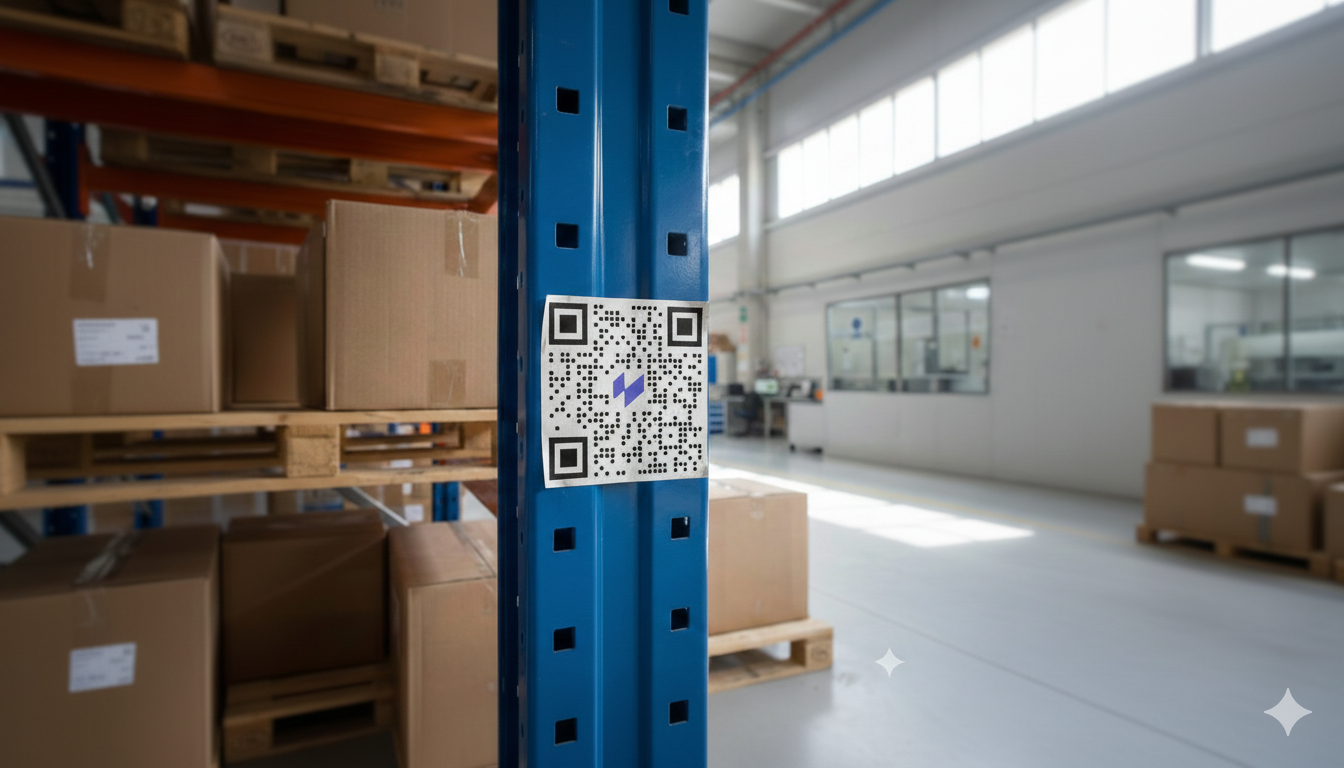
Print and post QR codes at physical locations so team members can quickly access information or report issues.
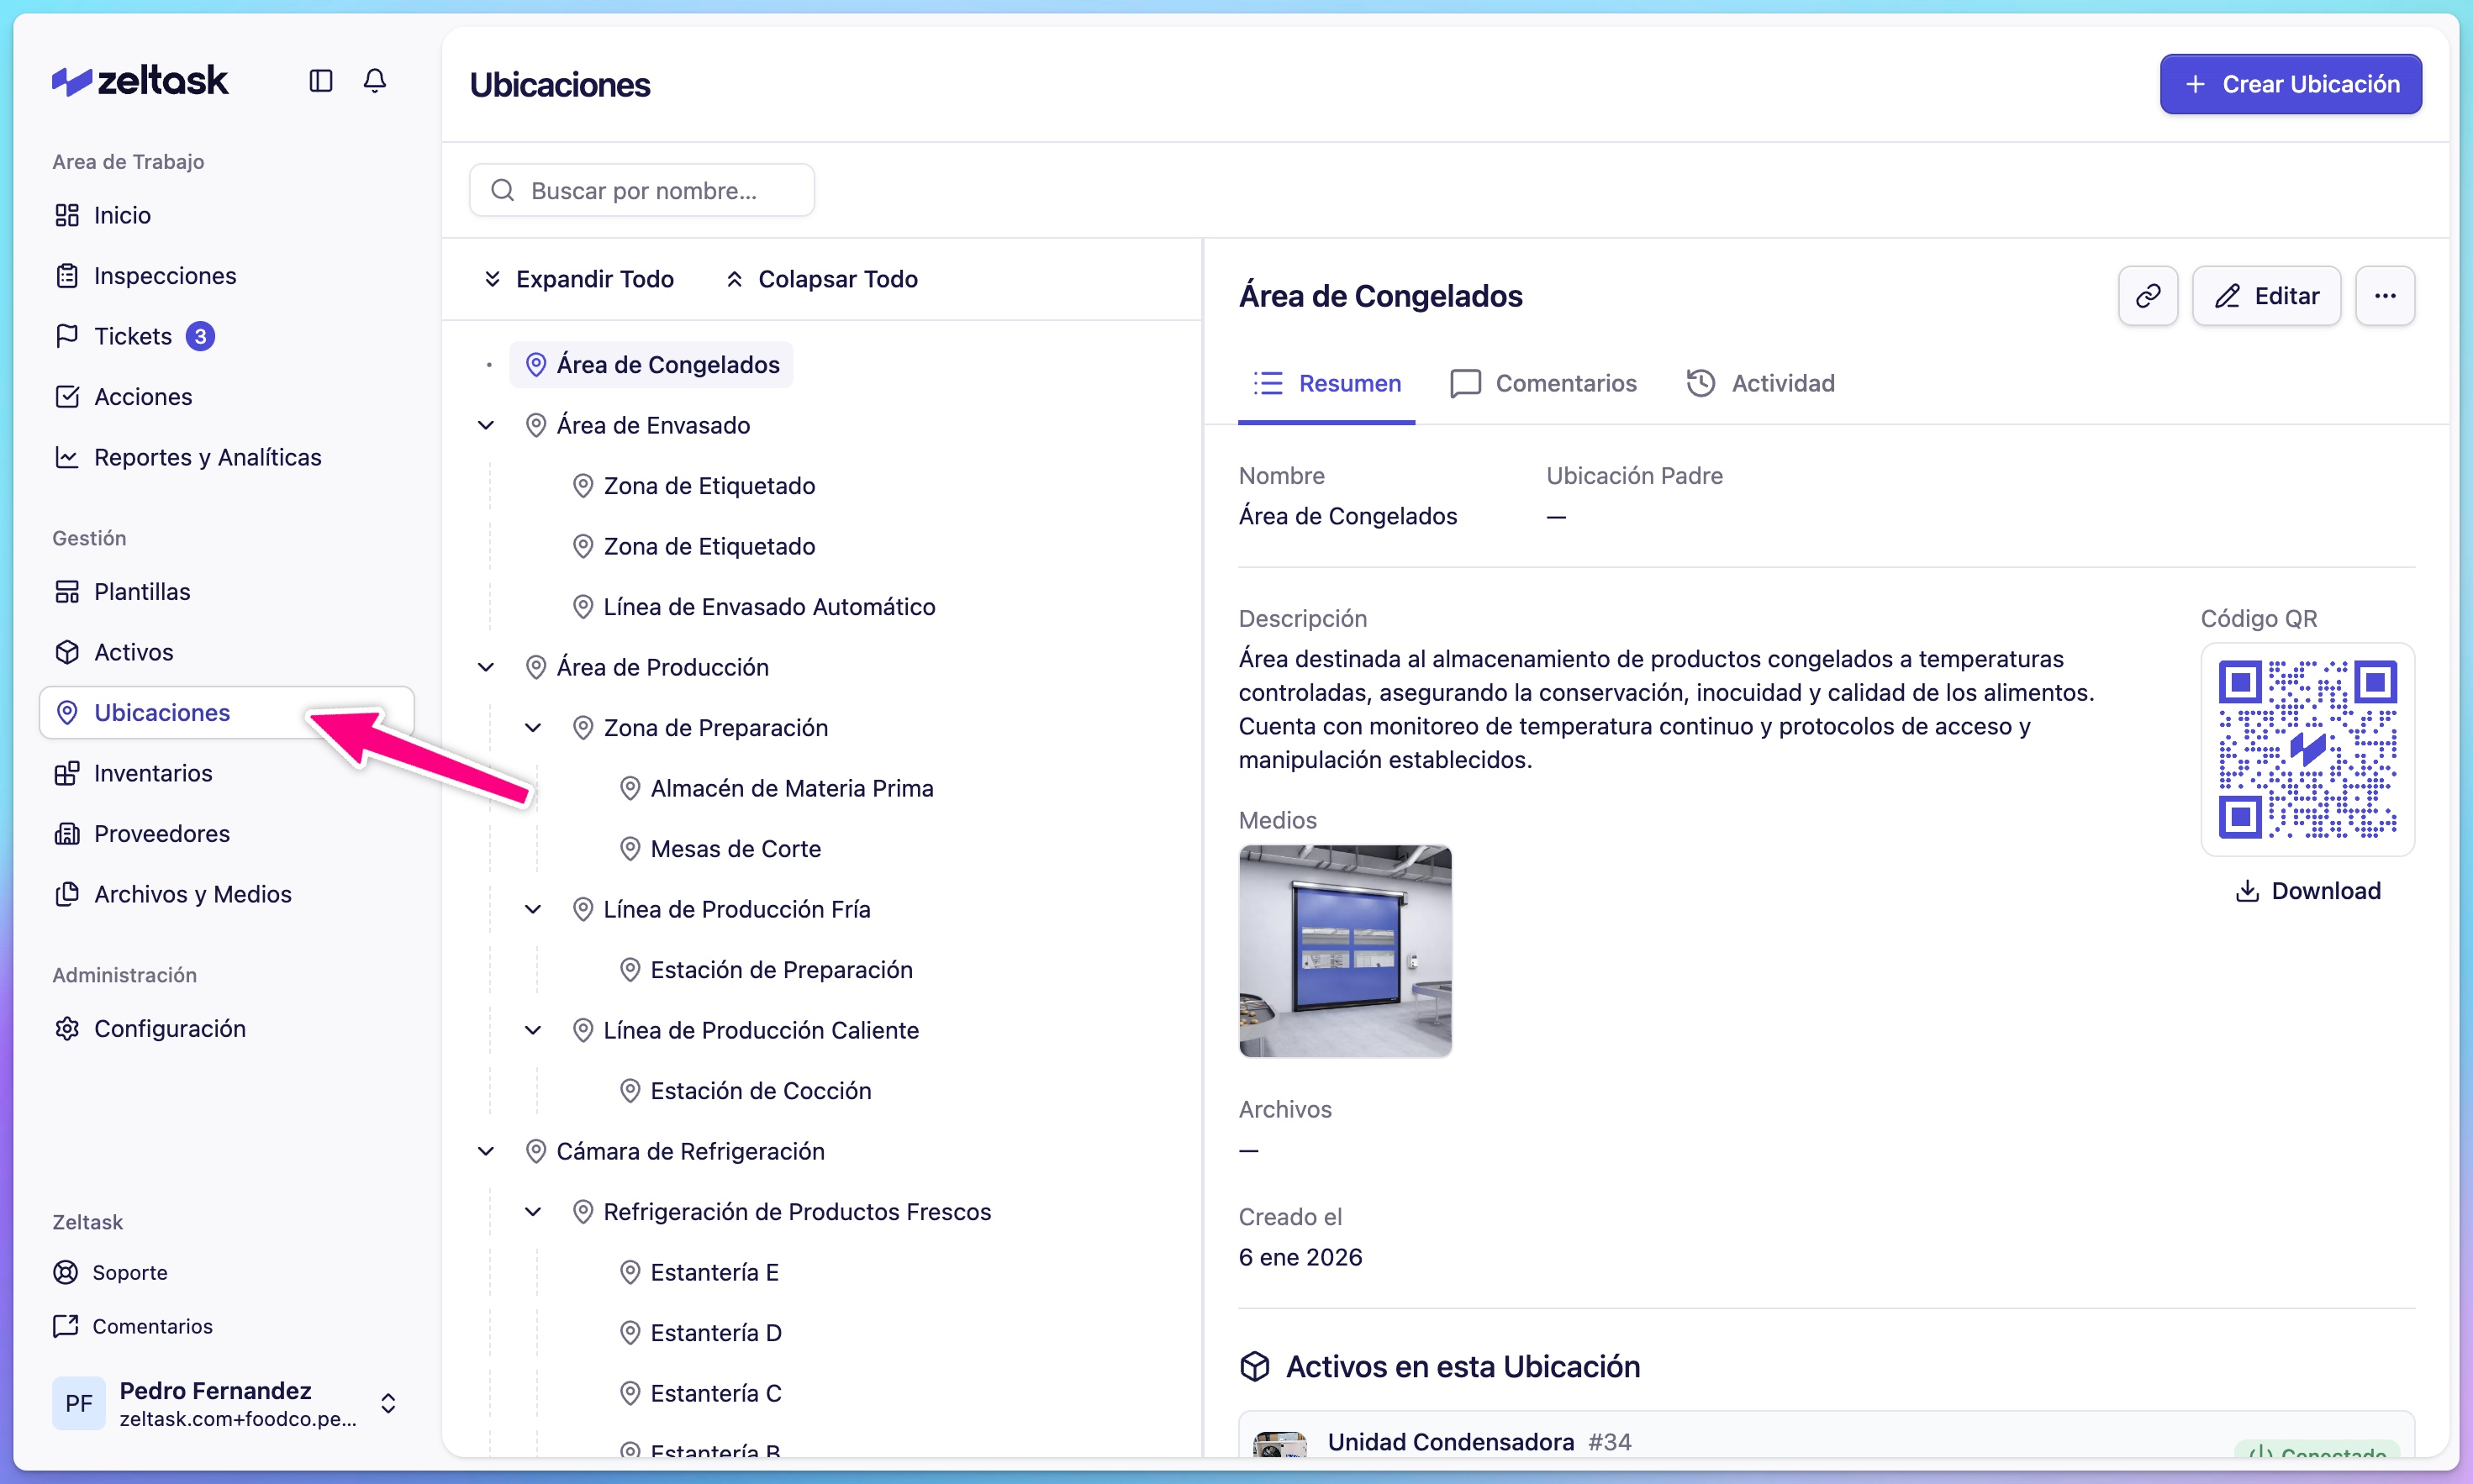
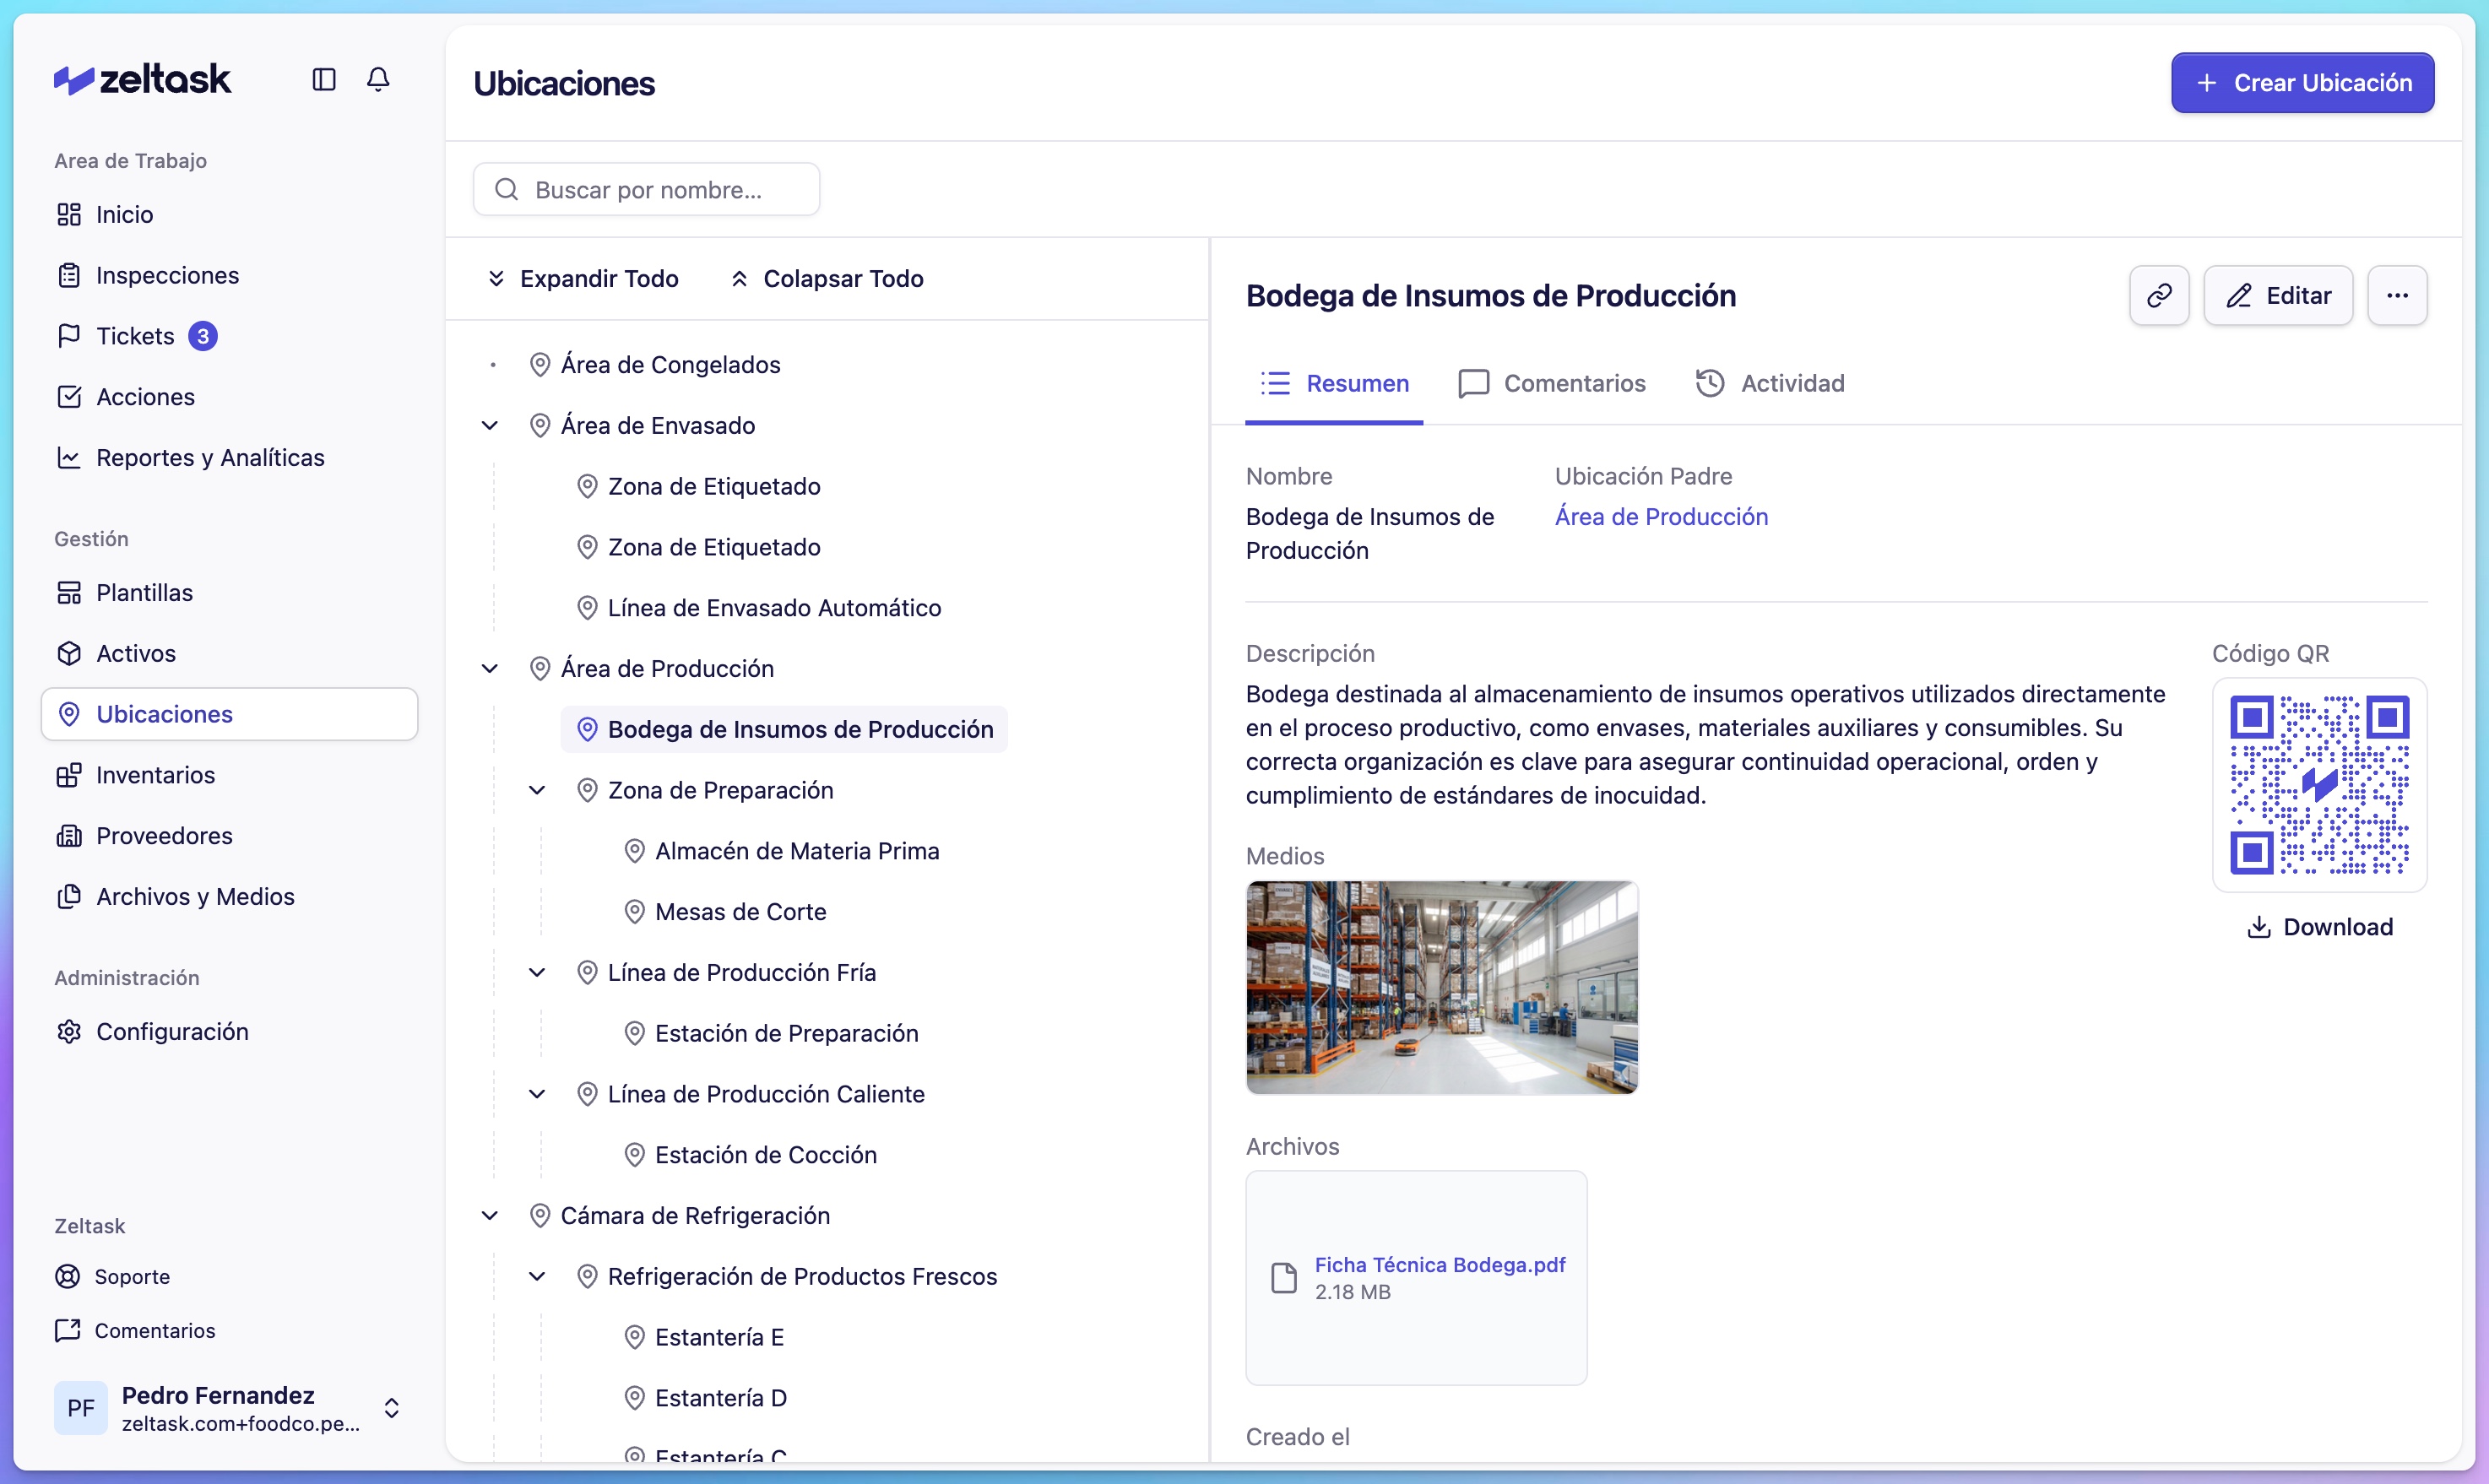
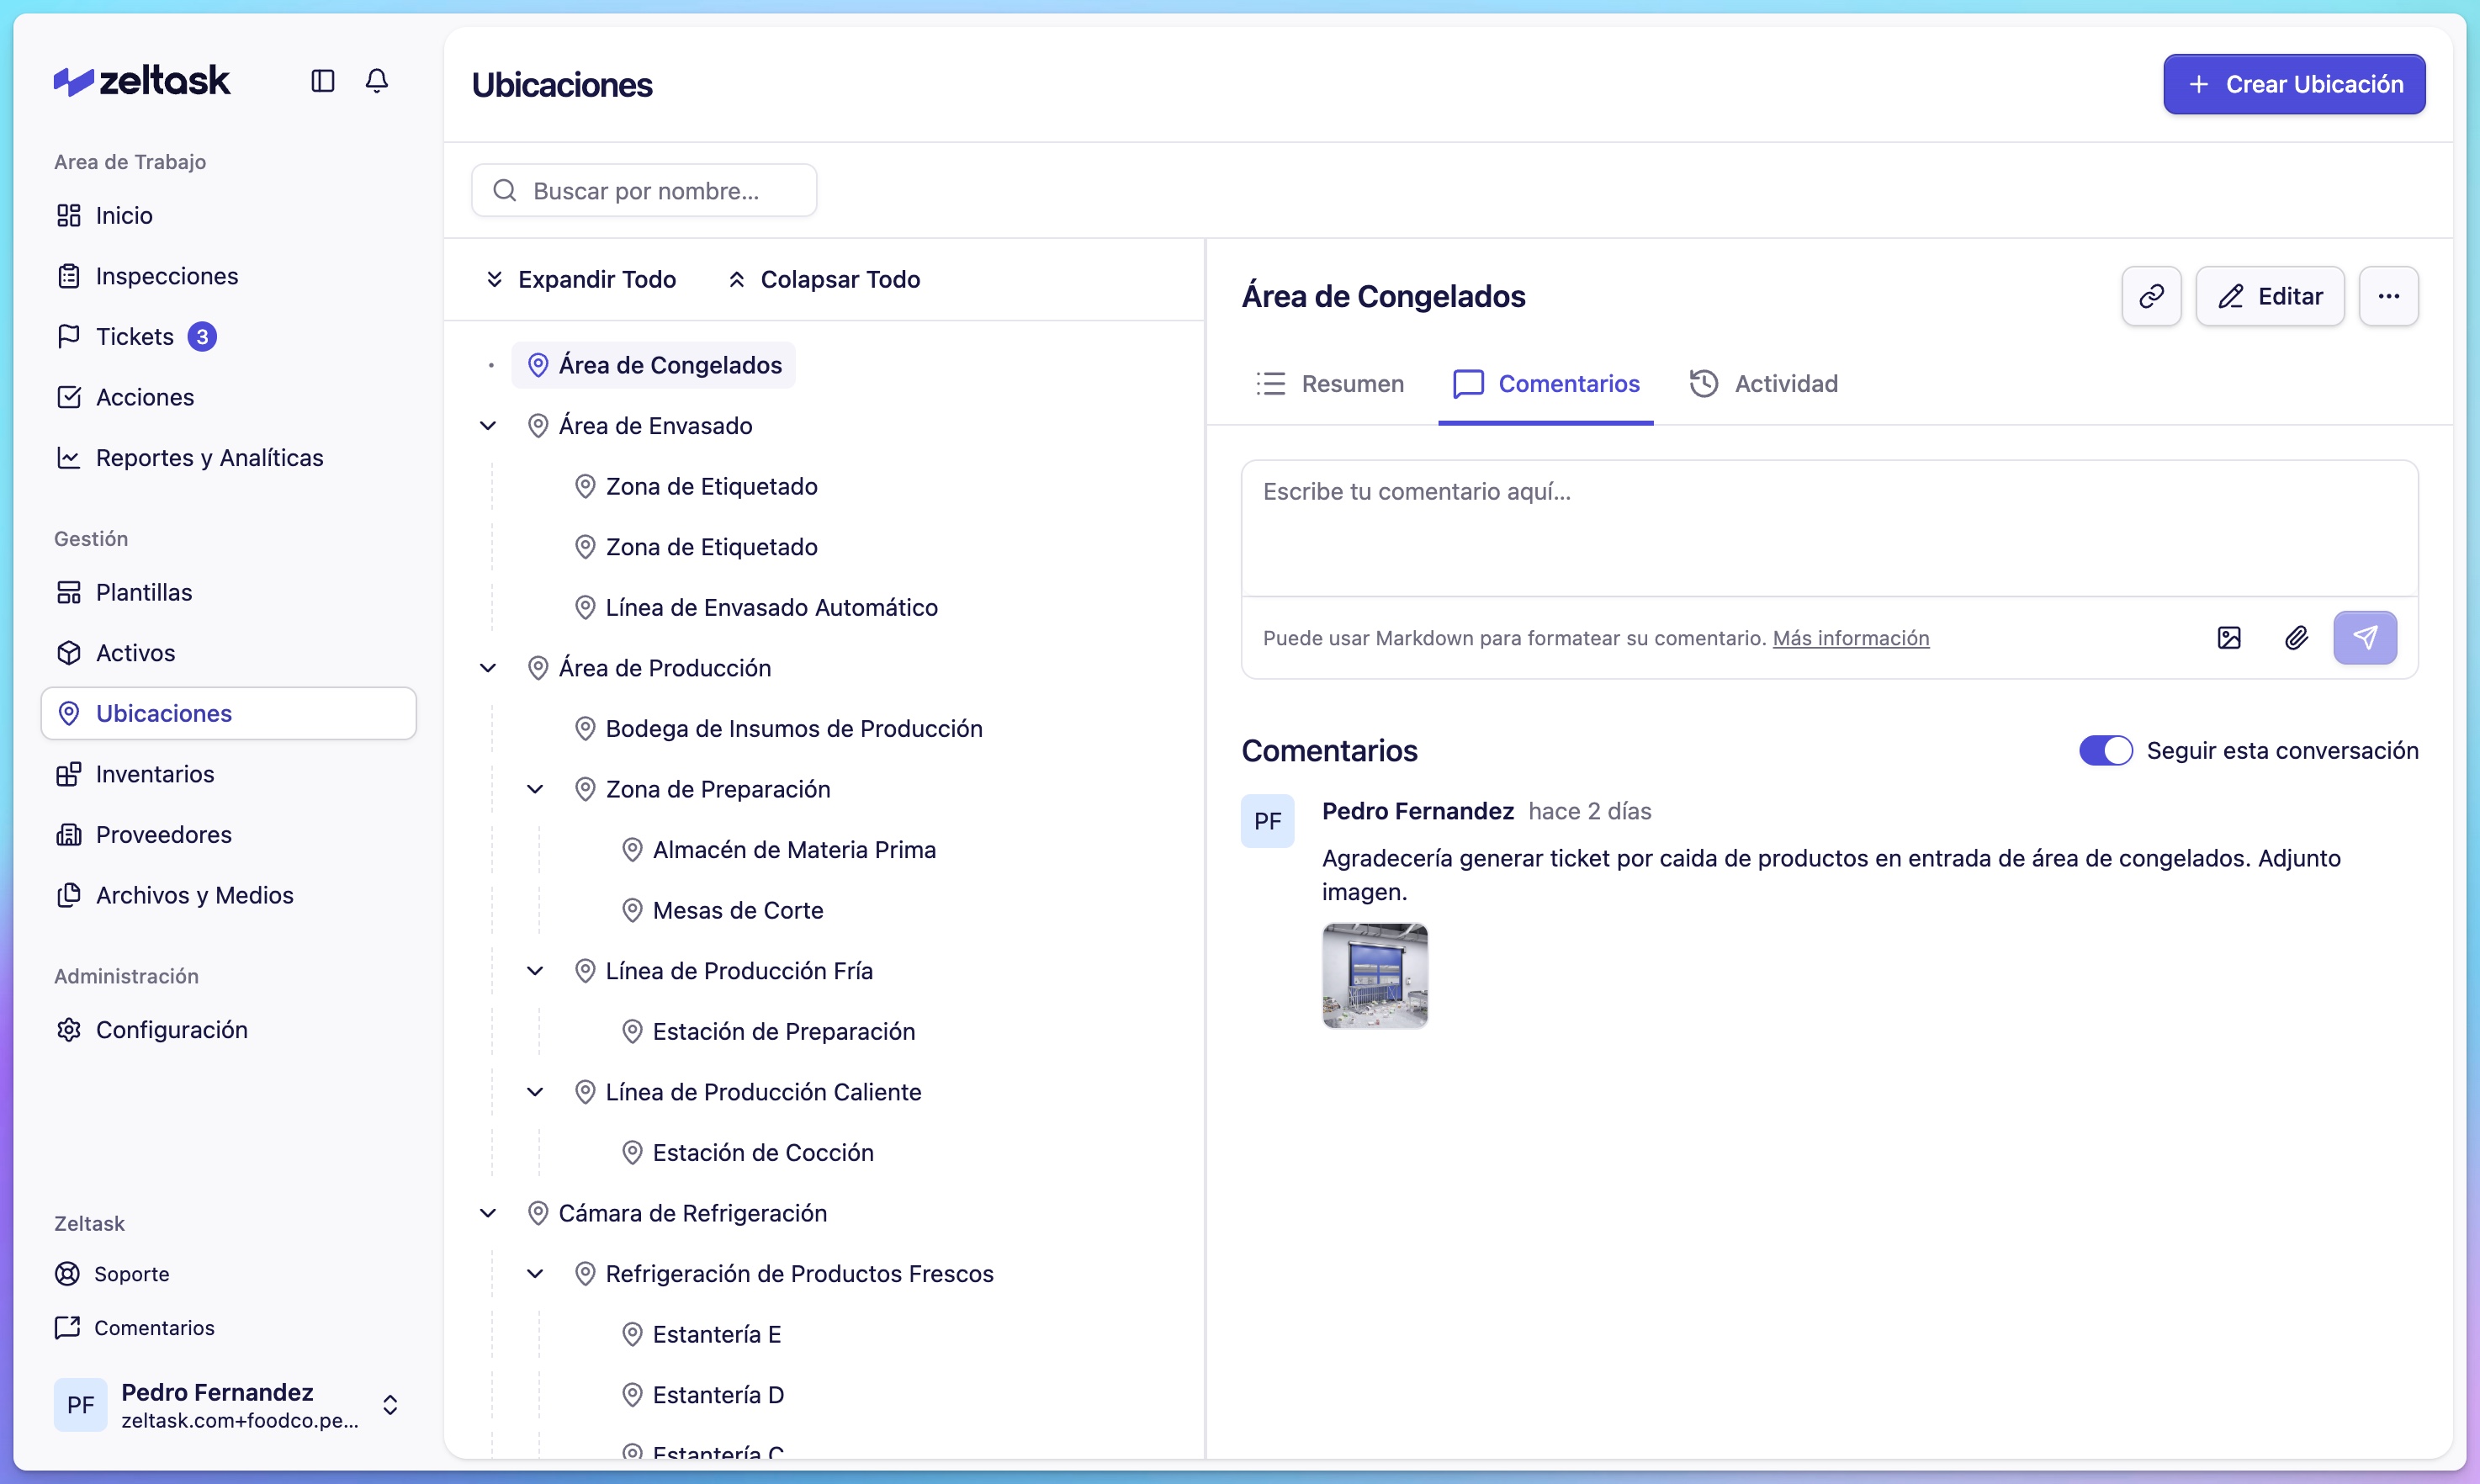
Viewing Location Details
Click any location card to open its Detail View:
- Overview — Name, description, files, and media
- Comments — Leave notes visible to others who view this location
- Assets — Equipment registered at this location
Tips
- Start with your main areas, then add more specific zones as needed
- Use consistent naming conventions (e.g., "Building A - Floor 1 - Zone North")
- Add photos to help new team members identify locations quickly
- Post QR codes at location entrances for easy mobile access